A Guide to Stretch Command A Guide to Stretch Command Do you know the difference between move and stretch commands? There are occasions where it’s far more efficient to use Stretch instead of Move.
At On-Site-Support (CAD), this month’s blog offers a guide to stretch command. For more information about our CAD training across the UK, call us on 0800 1976 281 .
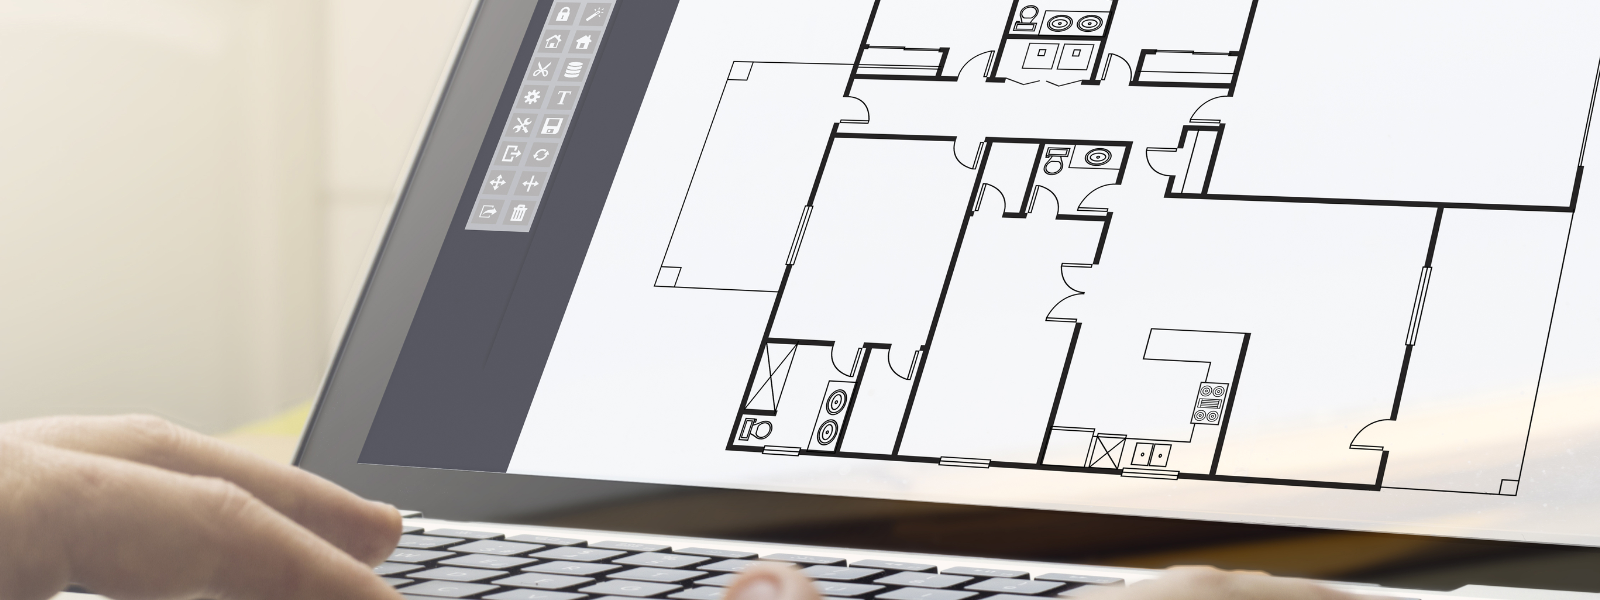
Move vs Stretch Command Move is simple. You can use grips or the move command. Stretch, on the other hand, takes a little more but worthwhile effort. Take a door that has been inserted into a cavity wall for example. Yes, you could use the Move command by selecting the door objects with an enclosing box. But that will leave you with a gap in the cavity wall that will require extensive editing.
Step 1 Now you must understand that Stretch command has some fixed rules about the way it works. Type in S - the short cut key for Stretch command - and you are asked to select objects. Then you must use only a crossing box selection over those objects that will move with the stretch.
If you have picked anything that will not move, use shift + left click to remove from the stretch selection set.
Step 2 Now push enter/return key to finish your object selection. You will then be asked to specify a base point. Just left click a suitable point on screen. Ensure that ortho mode is on. Move your cursor in the direction required, type the distance and accept.
The result will be that the door will move required distance without any further wall editing required.
Find Out More For more information about how to use stretch command, don’t hesitate to contact On-Site-Support (CAD). We offer our courses across the UK. You can call us on 0800 1976 281 or make an enquiry through our online contact form .